How to Select the Best Stencil for Sandblasting
Choosing the best stencil for sandblasting isn’t an easy task, and there are plenty of factors that you have to take into consideration to make sure you get the best stencil for your project. Sandblasting is inherently a destructive process, meaning that any stencil that you choose has to be made of the highest quality, and you should be looking to connect with a stencil supplier who can work with you to select and make the right stencil for your project. Before you go looking for a reputable stencil manufacturer, you’ll want to make sure you’ve thought through your project clearly so you know what kind of sandblast stencil you’re looking for with the following questions:
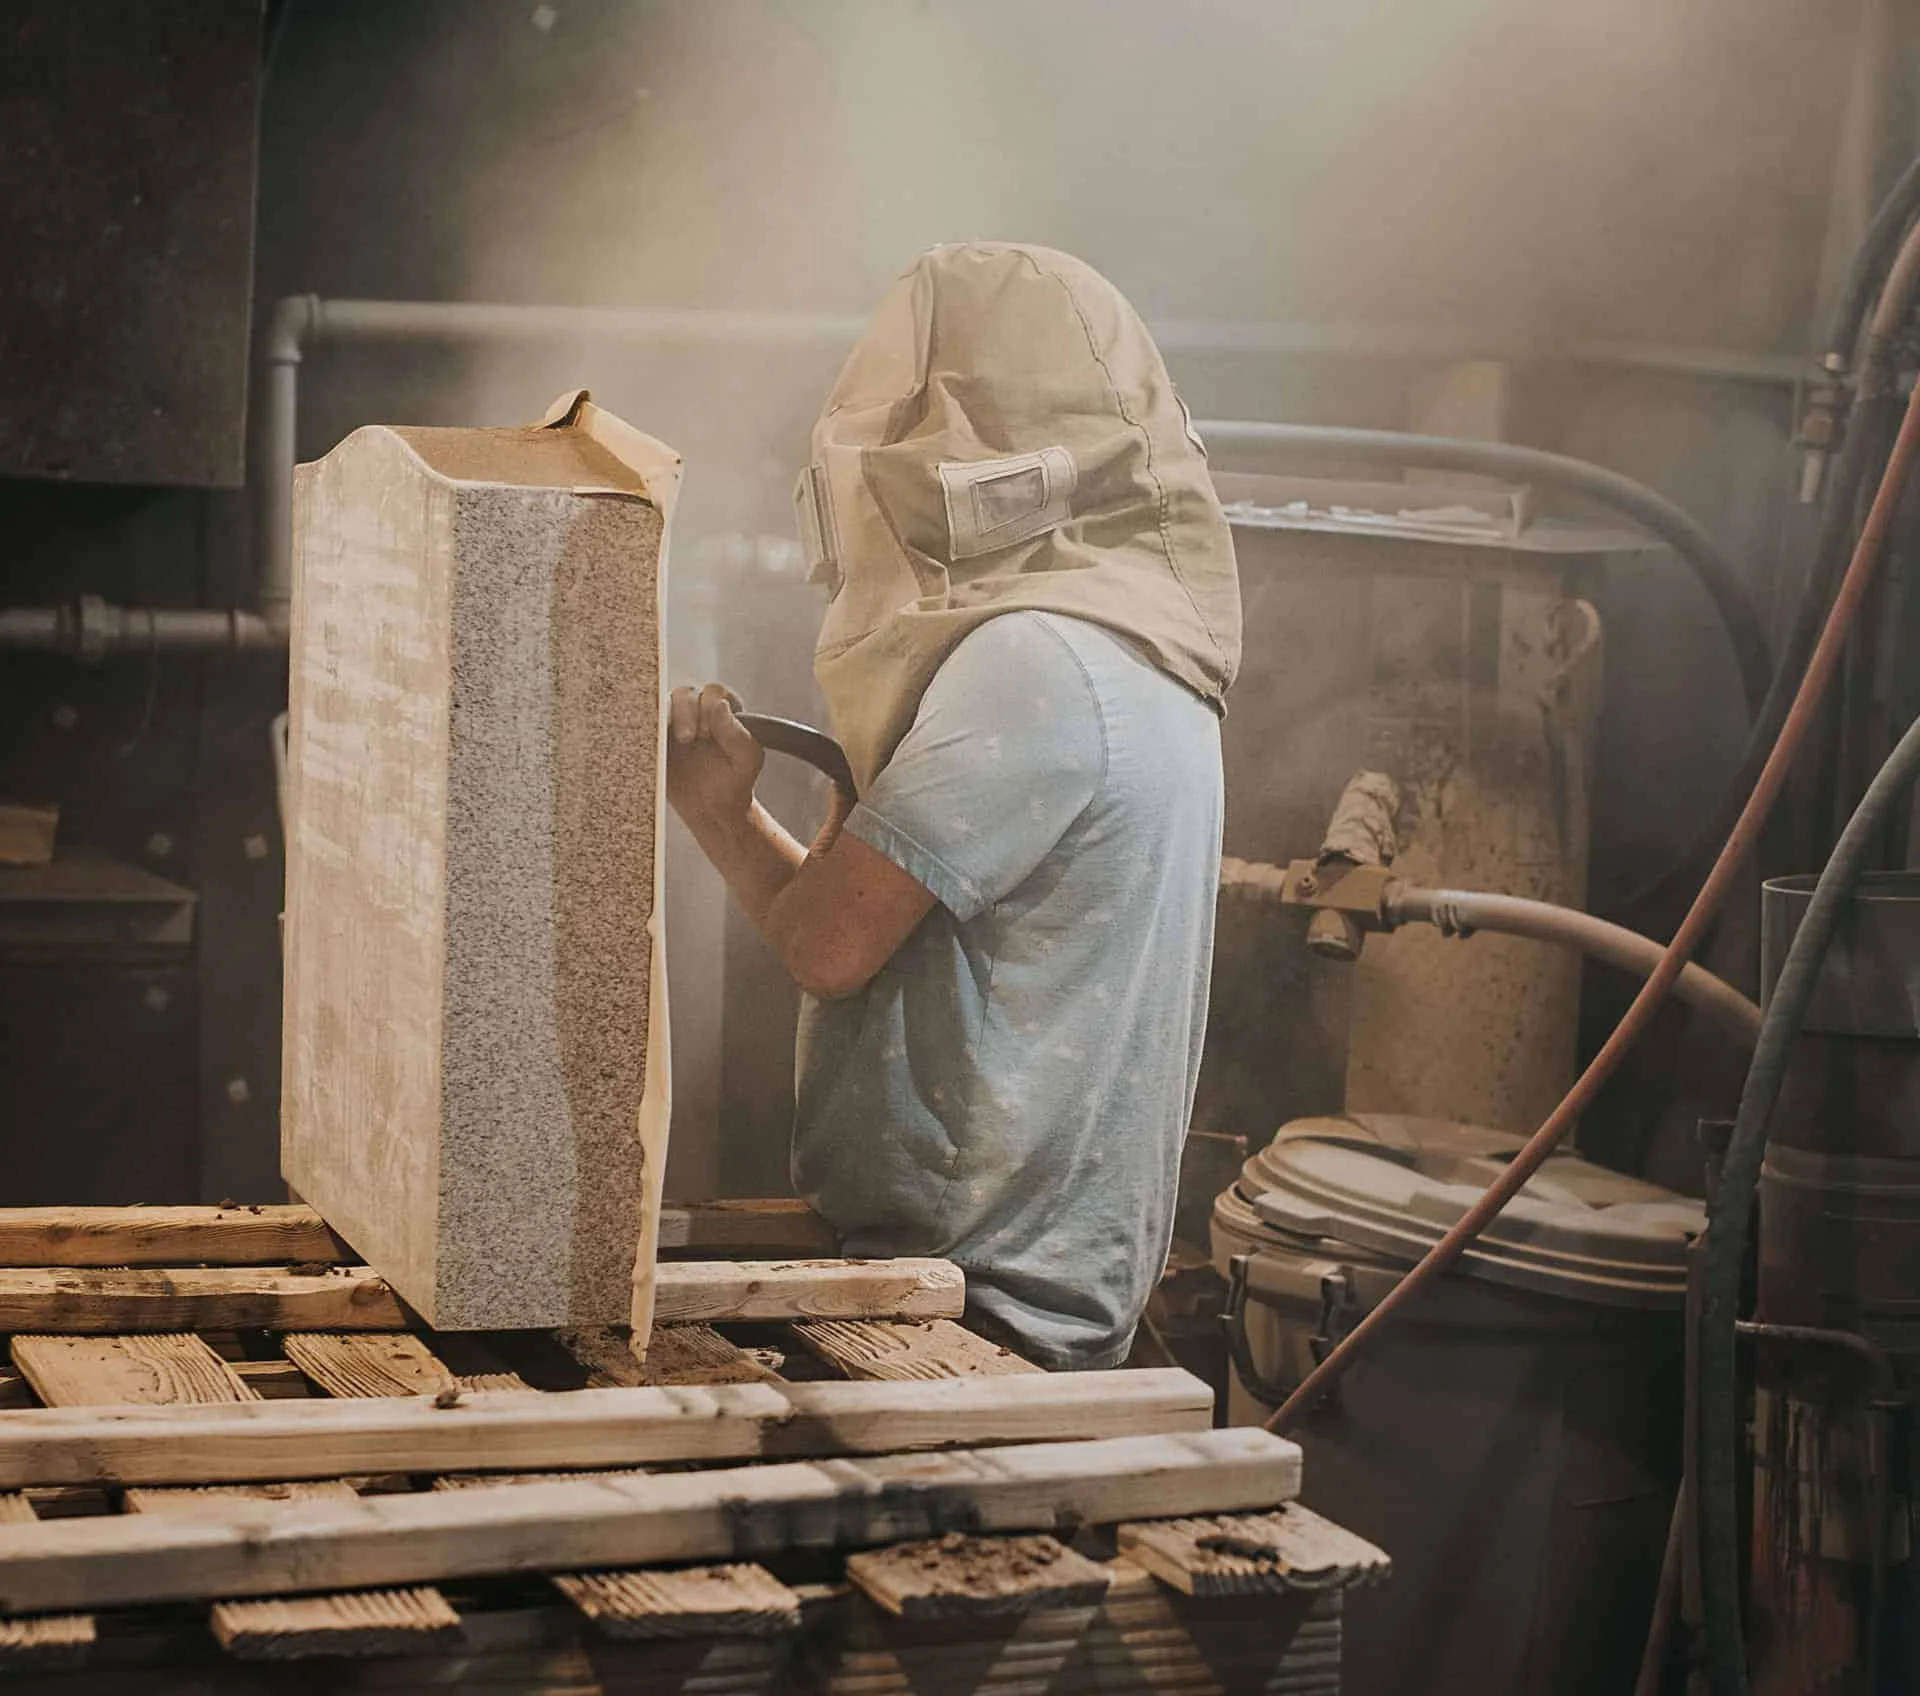
What Material are you Sandblasting?
Obviously, there are only so many materials that you can use for sandblasting, as the process will cause brittle materials or sidings, such as wood or plastic, to either disintegrate or warp which will ruin the look of your final project. The type of material you’re working with will dictate the type of stencil you’re using:
Glass – Sandblasting a stencil onto glass is a delicate process, as you’ll need a stencil that has a high resistance to abrasion because you’ll need a little more force on the glass. In this case, you’ll find that a rubber or vinyl stencil for sandblasting glass is the best solution as they will hold in place while you’re sandblasting without leaving residue behind once you’re finished working.
Stone – The majority of sandblasting work is done on stone as these projects tend to be on the outside of buildings, monuments or gravestones. Stone is a much more forgiving substance to work with than glass, but you’ll also find that you need a much thicker stencil to avoid any accidental imprints being left. Again, you’ll find a rubber stencil to be sufficient here, but you’ll want to consult with your stencil supplier to make sure you’ve got an appropriate thickness for the type of stone you’re working with.
Metal – Finally, sandblasting is a great technique to use when you’re working with metal, normally on some sort of sign. You’re able to pick a few more fine details when you’re putting a stencil onto metal, you’ll want to make sure you’re using a stencil that can handle intricate work. The best materials for stencils on metal are an adhesive vinyl or photoresist as they’ll provide protection while being able to be shaped into complex shapes and patterns.

How are you Sandblasting?
It may sound obvious, but not all sandblasting projects are the same, and there are nuances in each piece of work that will require a different stencil. If you’re just etching or adding some surface decoration, it’s likely that you’ll be using a light sandblasting technique. In these cases, you should be choosing thinner stencils like photoresist stencils or adhesive-backed vinyl, which are easy to cut and quick to apply. These lightweight stencils allow you to move through a project quickly and cover more area fast, so they’re also a good idea for larger projects. If you’re having to carve further into materials, or you’re working with a heavy duty stone like granite, then you’ll need a more durable stencil made from heavy duty rubber. These thicker stencils means you can engage in deep sandblasting for longer periods with the stencil degrading or getting damaged.
What Level of Detail do you Need?
The question at the heart of every sandblasting project is how much detail is involved in the stencil. While there’s no firm guide for how much detail is involved, you’ll find the following a good rule of them to find the best stencil for sandblasting:
High – For intricate designs and small lettering, you’ll want a double lined stencil that is on the thicker side. This is also the case if you’re hand carving your stencil, or if you have a more complex design, as double processing is a necessity. This allows the blaster more freedom to form sharper edges and deeper cuts to provide a much more enduring and detailed engraving.
Medium – When the level of detail is not too complex, but not simple to the point of a basic date and name engraving, the balance between cost and effectiveness needs to be weighed carefully. While most medium level designs can be done with a single liner stencil, you might need a double liner stencil if there is more complex sandblasting required such as frosting.
Low – Cost is a major factor when it comes to simple designs. The goal is to get the most efficiency out of each roll of rubber. In previous years, low complexity designs have been done with vinyl stencils to save money, but the recent release of a thin rubber based stencil has made it more efficient and effective to work with rubber as it’s easier to work with even for simple stencil designs.
Getting Professional Help
Here at U-Blast, we know it can be tricky to take all these factors into consideration. This is why we always recommend talking with our team of stencil and sandblasting experts as you start your project, as they’ll be on hand to help you select the best stencil for sandblasting.