Sandblasting in and of itself is an effective and efficient way to engrave designs on a wide range of hard surfaces from glass to stone. You’ll find examples of sandblasting everywhere you look, from that frosted glass storefront to inscriptions on tombs and monuments in your local cemetery. However, sandblasting is a tricky skill to master, and the very nature of the work means that it can be hard to target the abrasive material accurately enough to make sure that you get the perfect project every time. The key to getting those professional grade results is by using sandblasting stencils to keep everything neat and tidy.
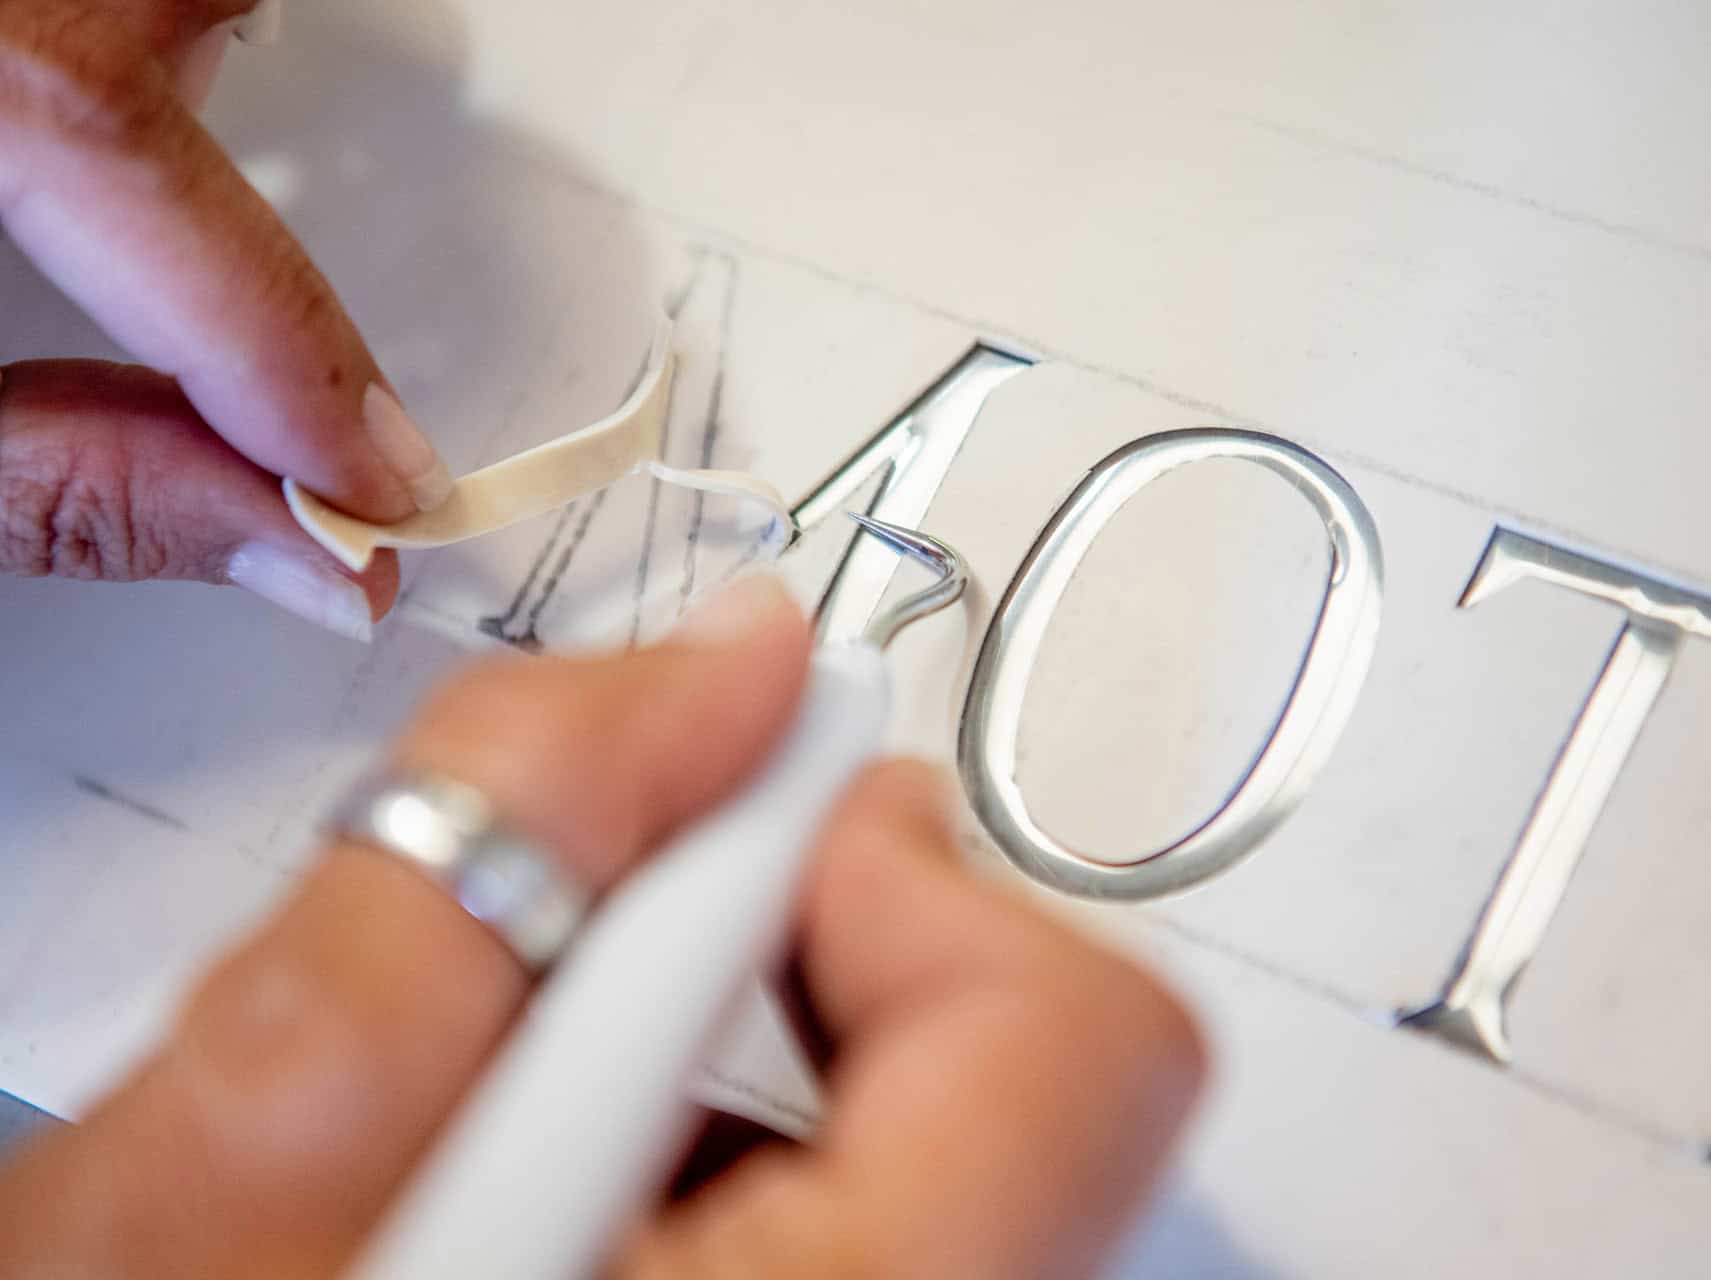
When you’re sandblasting, you need some way of covering up the parts of your working surface that you don’t want to engrave with the abrasive material. While it is possible to use a narrow sandblasting tool, the amount of time and precision required to get your design perfect is often not with the money the client is paying you. A sandblast stencil is the easiest way to make sure you get the right design every time you use it. It’s made from some sort of flexible material, usually vinyl or rubber depending on your budget or project, and sits (with the help of adhesive) on the top of your blasting surface. When you switch on the machine, the stencil prevents the abrasive material from going where you don’t want it. Stencils give you crisp, sharp lines and the freedom to create any intricate and delicate design.
When you’re talking about improving efficiency for your sandblasting project, what you’re really talking about is how to improve your performance in three key areas: time, cost and overall quality. Obviously, you’re trying to save the first two while increasing the latter to make your company both financially viable and attractive to new clients. Here’s how investing in a high quality sandblasting stencil helps you with each area of overall efficiency to make the most of every project: