Less Time. Less Effort.
Better Results.
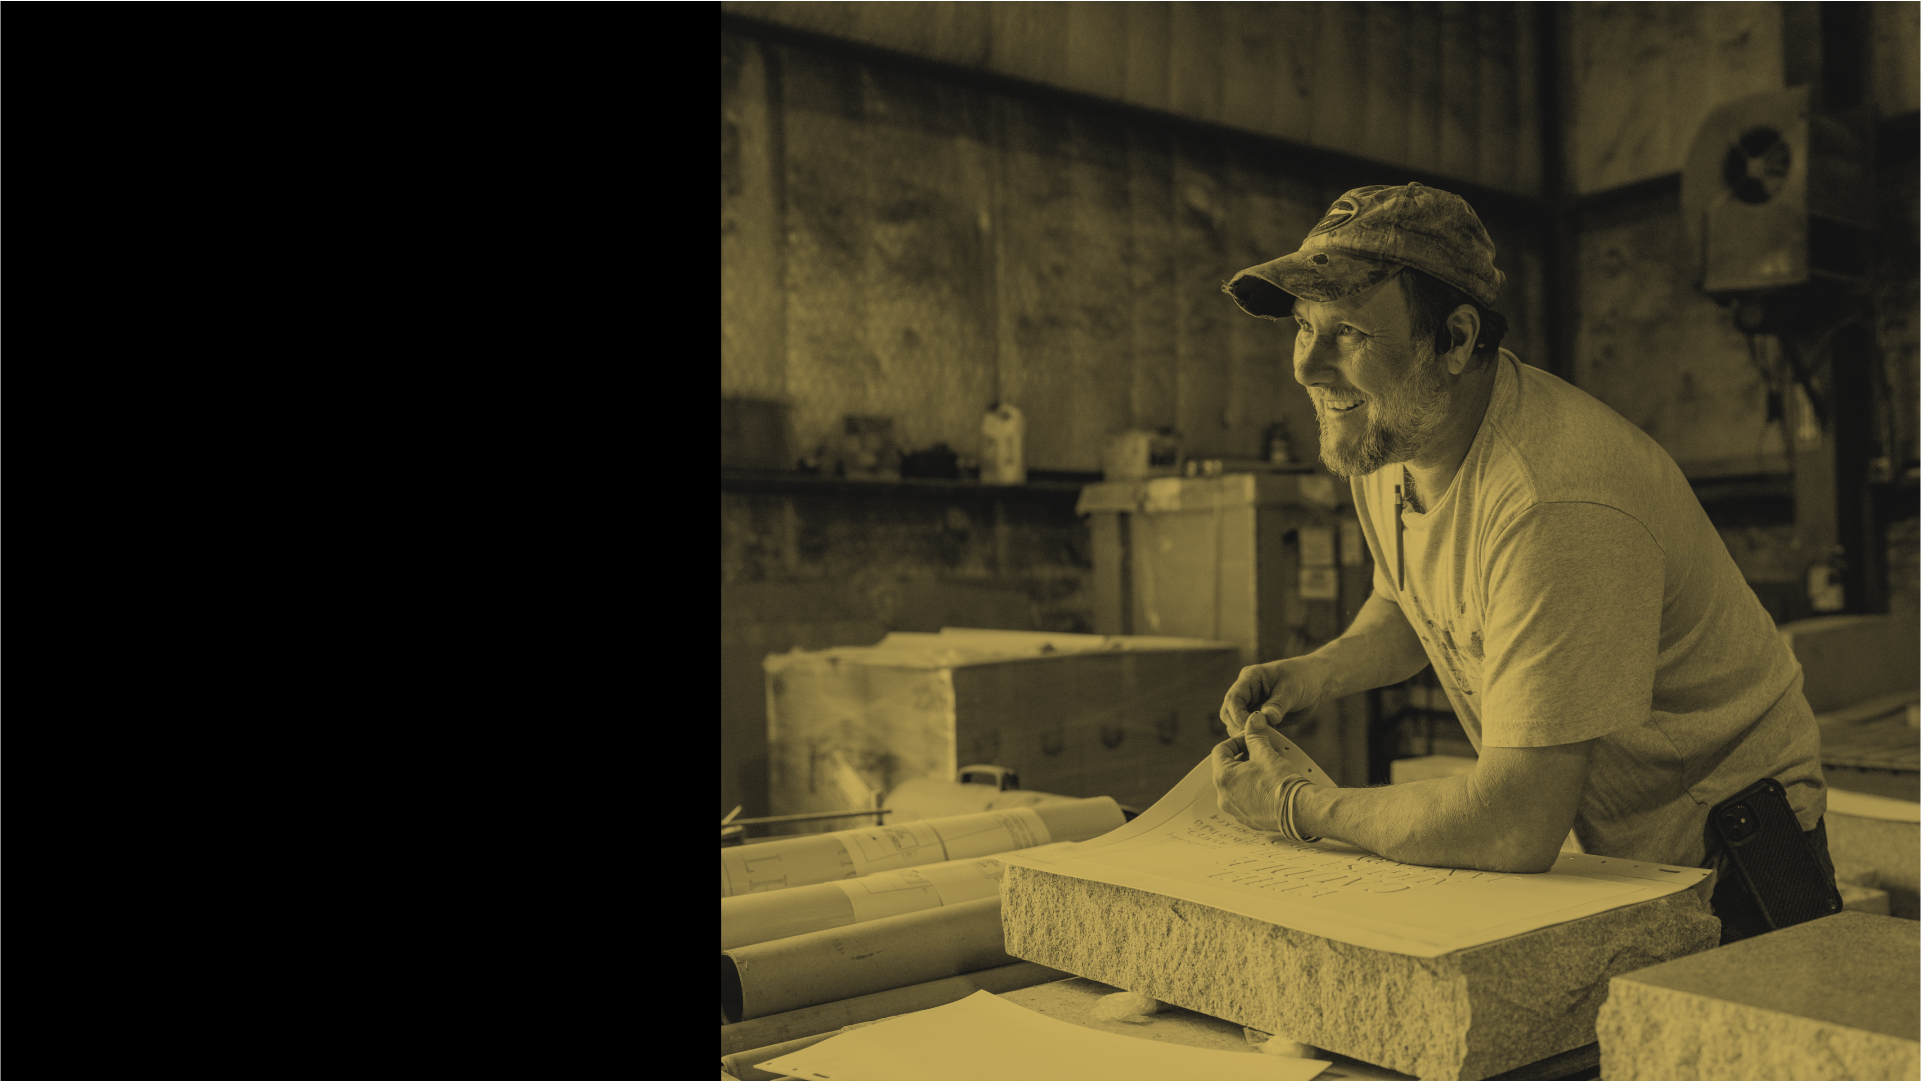
Blast abrasion stencils that deliver quality under pressure.
Built for stone - applicable anywhere reliability and precision are needed under pressure
Learn more about how U-Blast's range of products can help create efficiencies for your industry.
Our valued customers


“We are very satisfied with the shipping every time we put an order and we receive it in a few days. That’s extremely important to us. So I would like to thank all your team for the effort and the quality of the products.”
Yani
Garden Monuments (FL)
“Their customer service is truly one of the best we've dealt with. Everyone seems so happy which again reflects back to the business and how they handle things.”
Rachel
Tennessee Memorials (FL)
“We have used U-Blast stencil for the last several years and we are very pleased with the products and most of all the service they provide. They always make sure that our stencil is shipped out either the day I order or the following day!”
Angie
Chaney Monument (MO)
“We’ve been very pleased working with U-Blast Stencil. Their products are consistently high quality, which our crew really appreciates. Just as important, they are incredibly dependable—we can always count on them to deliver what we need, when we need it.”
Thomas
Thomas Monuments (IN)
Designed to make work easy

Durable & Consistent
Achieve the result you want every time

Painless Cleanup
Strong adhesion and easy removal

Malleable & Flexible
Molds to all shapes and adheres to all surfaces

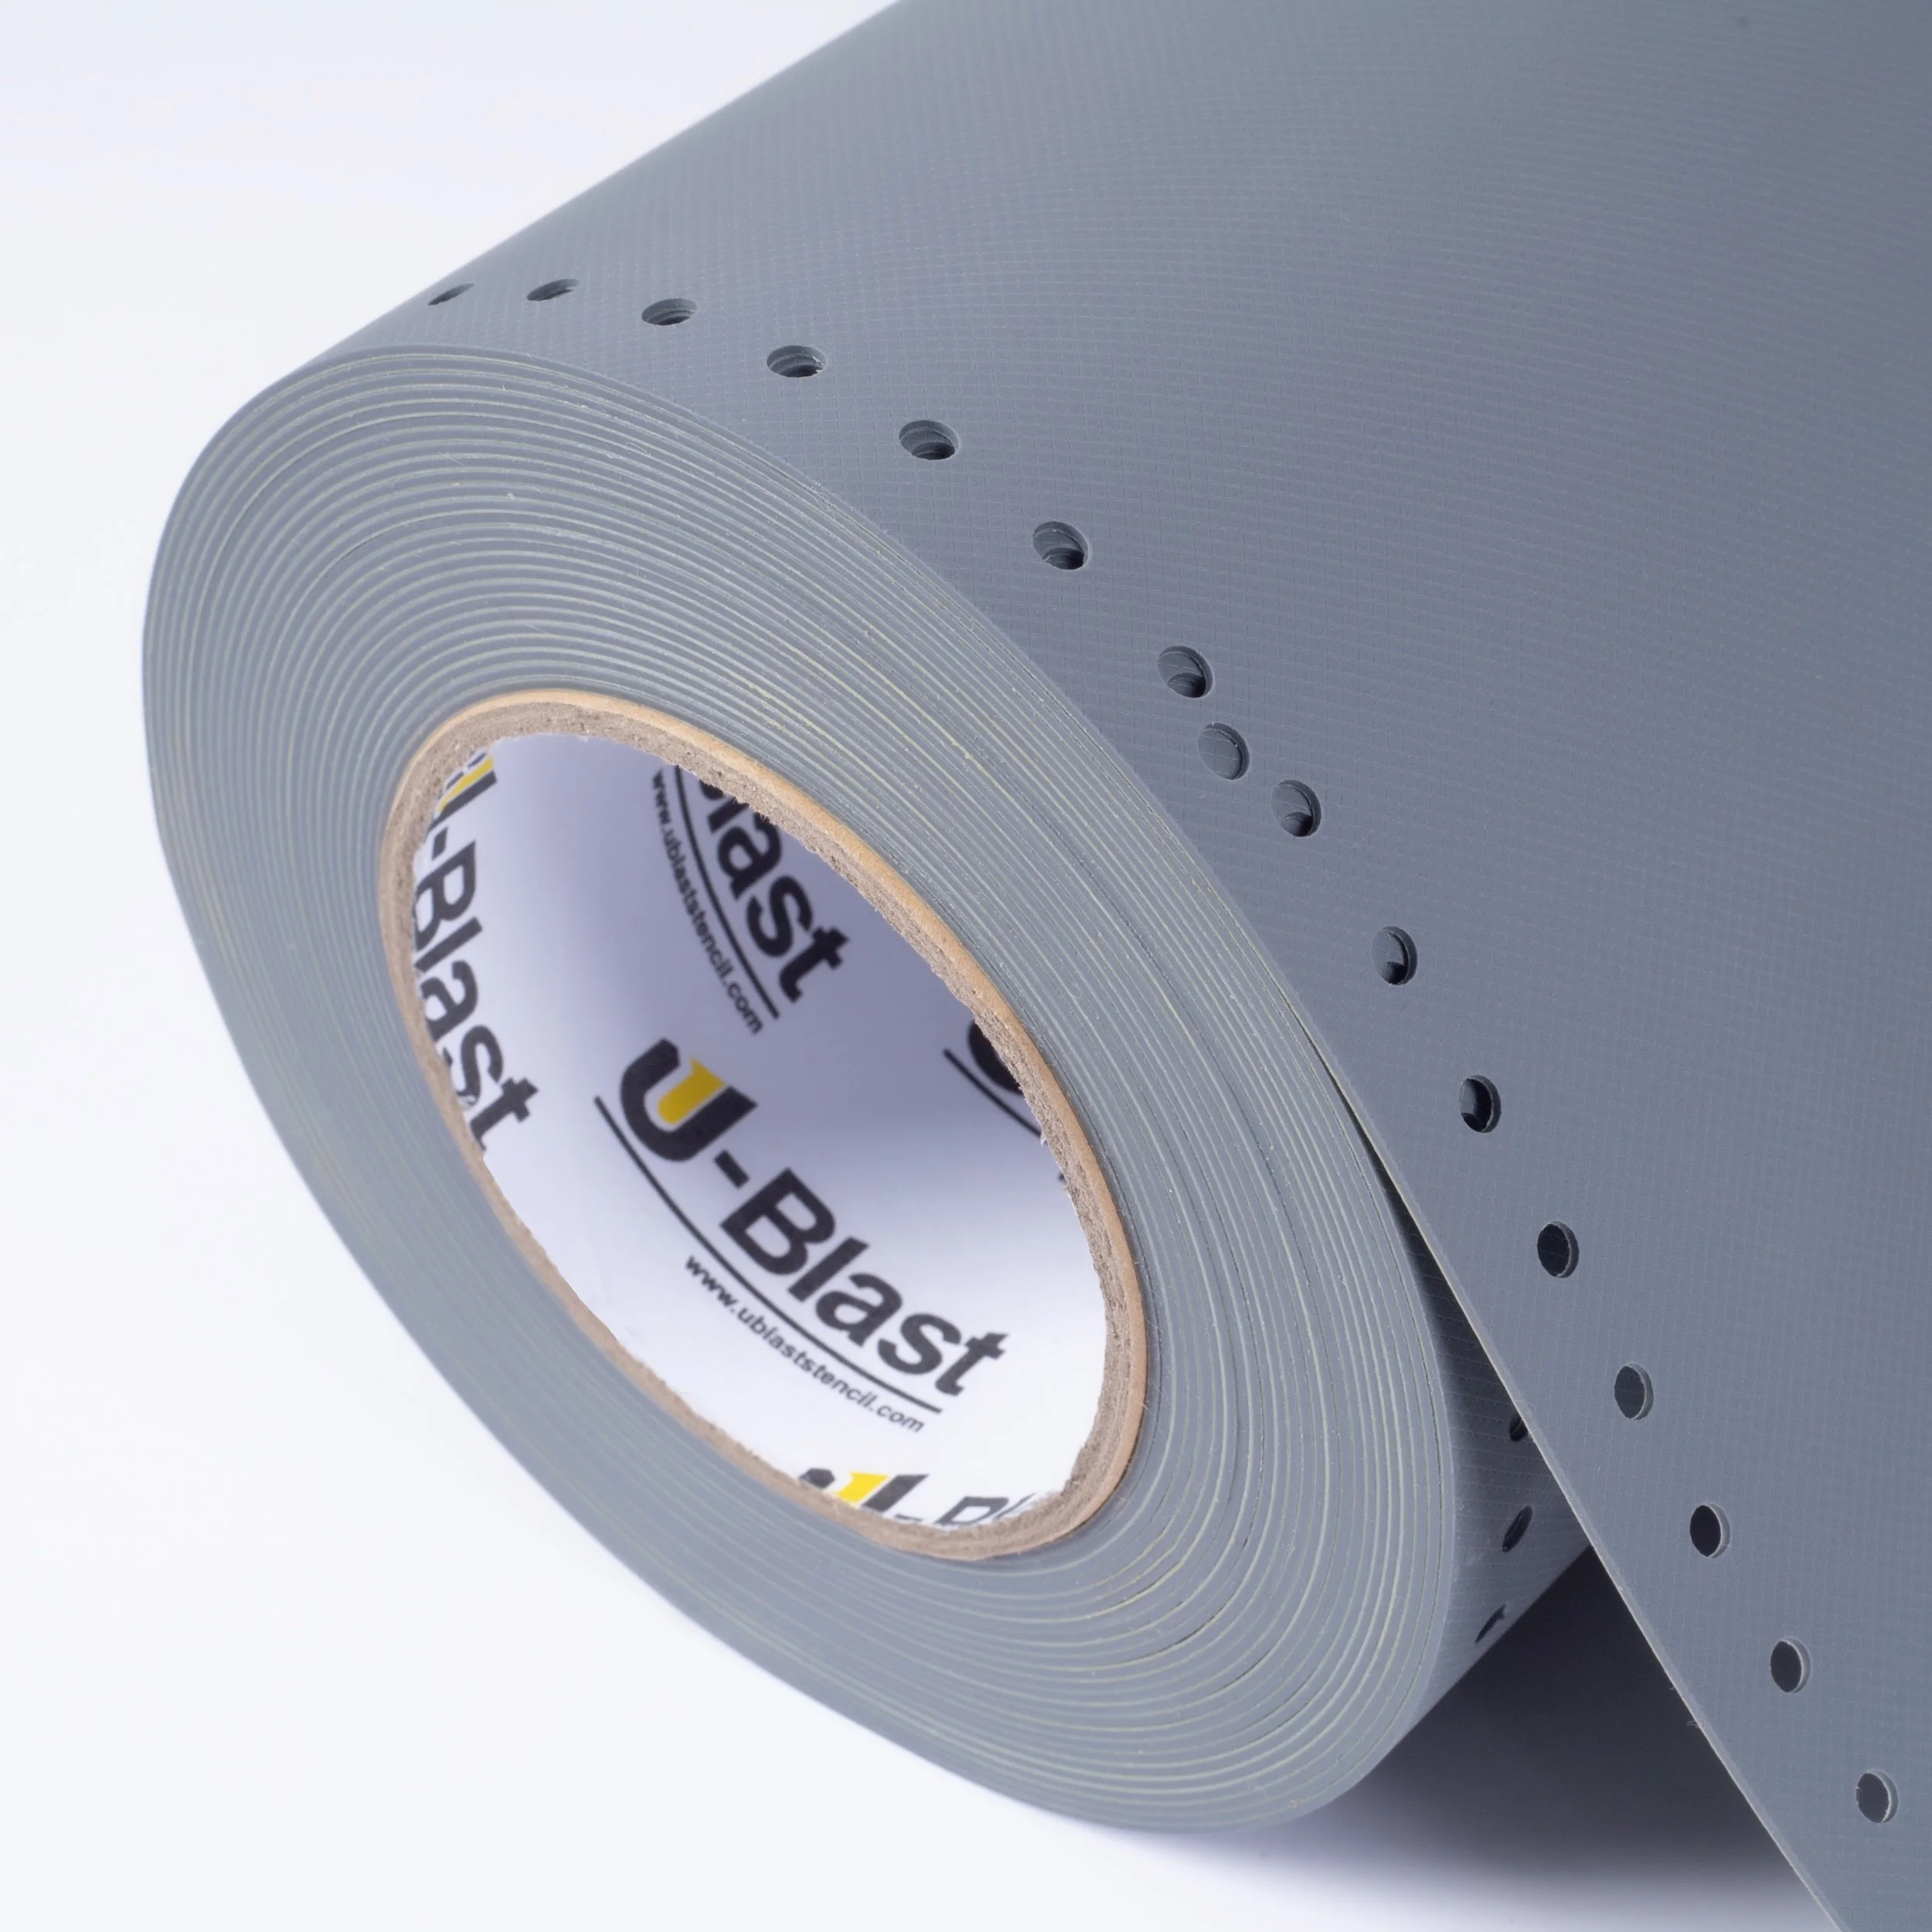
UB2
Our signature double liner stencil is ideal for stone and smooth surface applications. The firm adhesive is stable under all temperatures, with a rubber that cuts easily and holds up to the rigours of sandblasting.
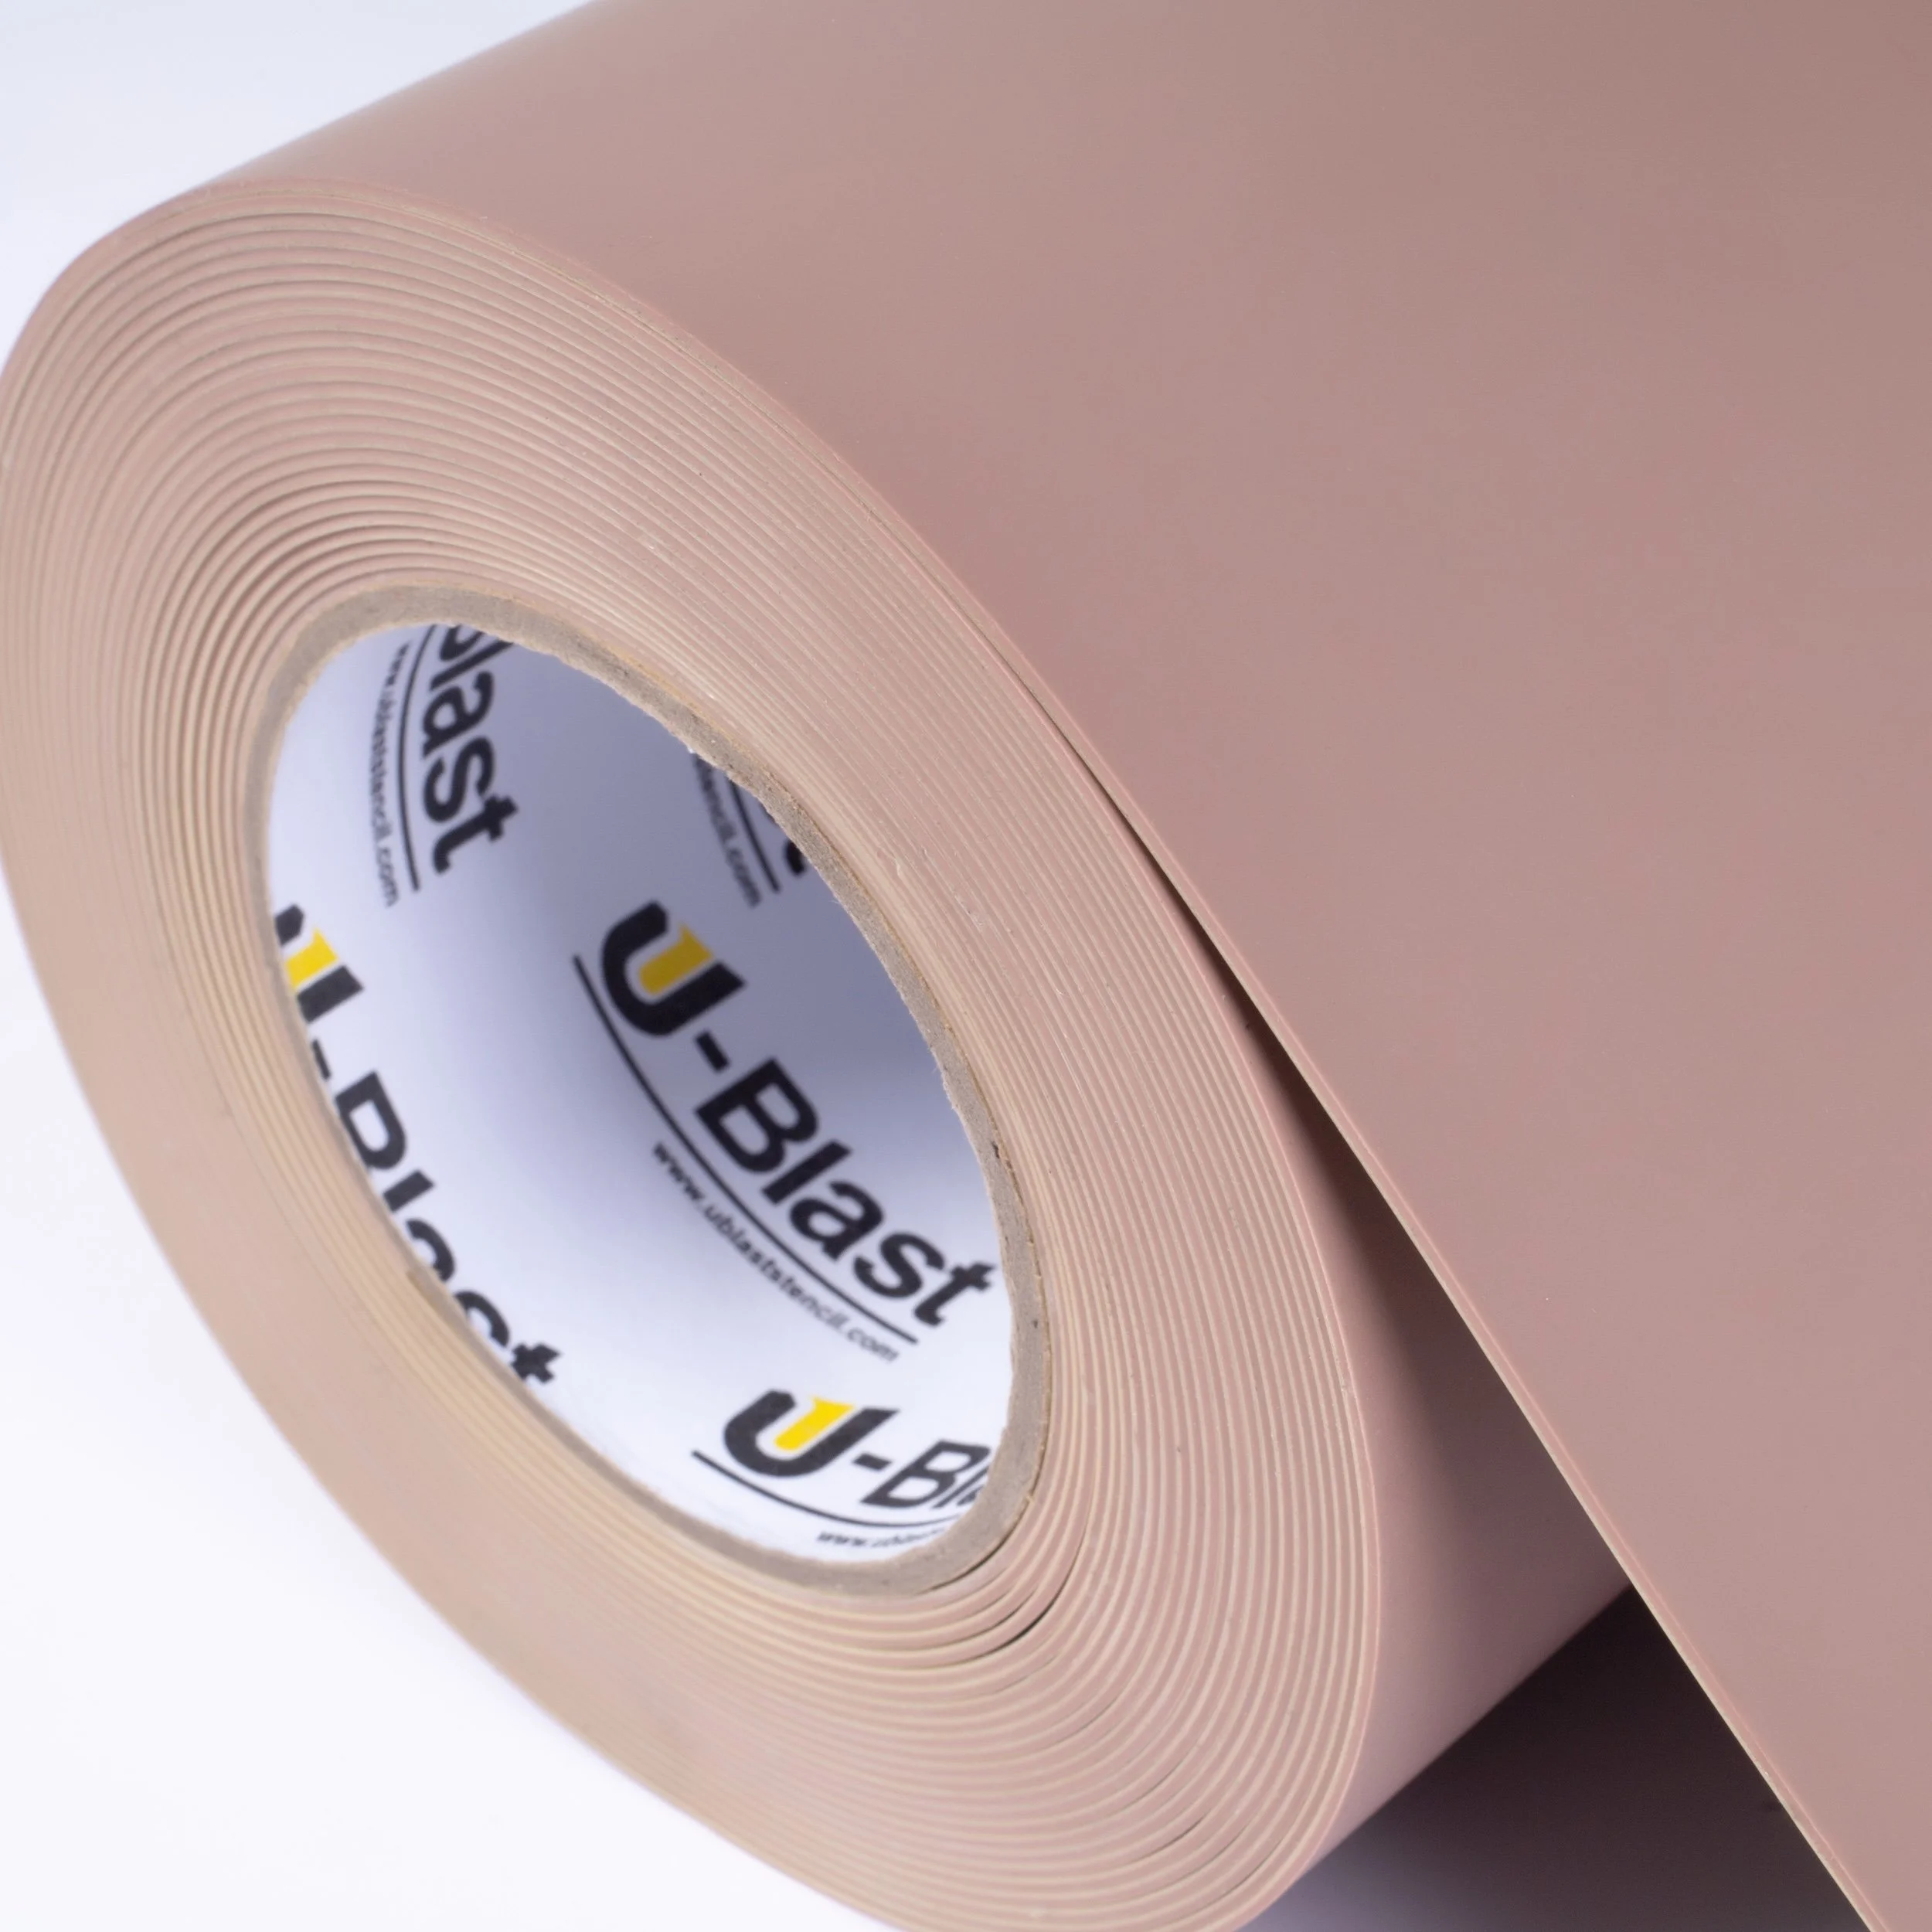
ST380
A perfect blend of flexible and tough, ST380 provides the protection you need in a convenient strip format. Adheres well to metal surfaces with easy clean up.
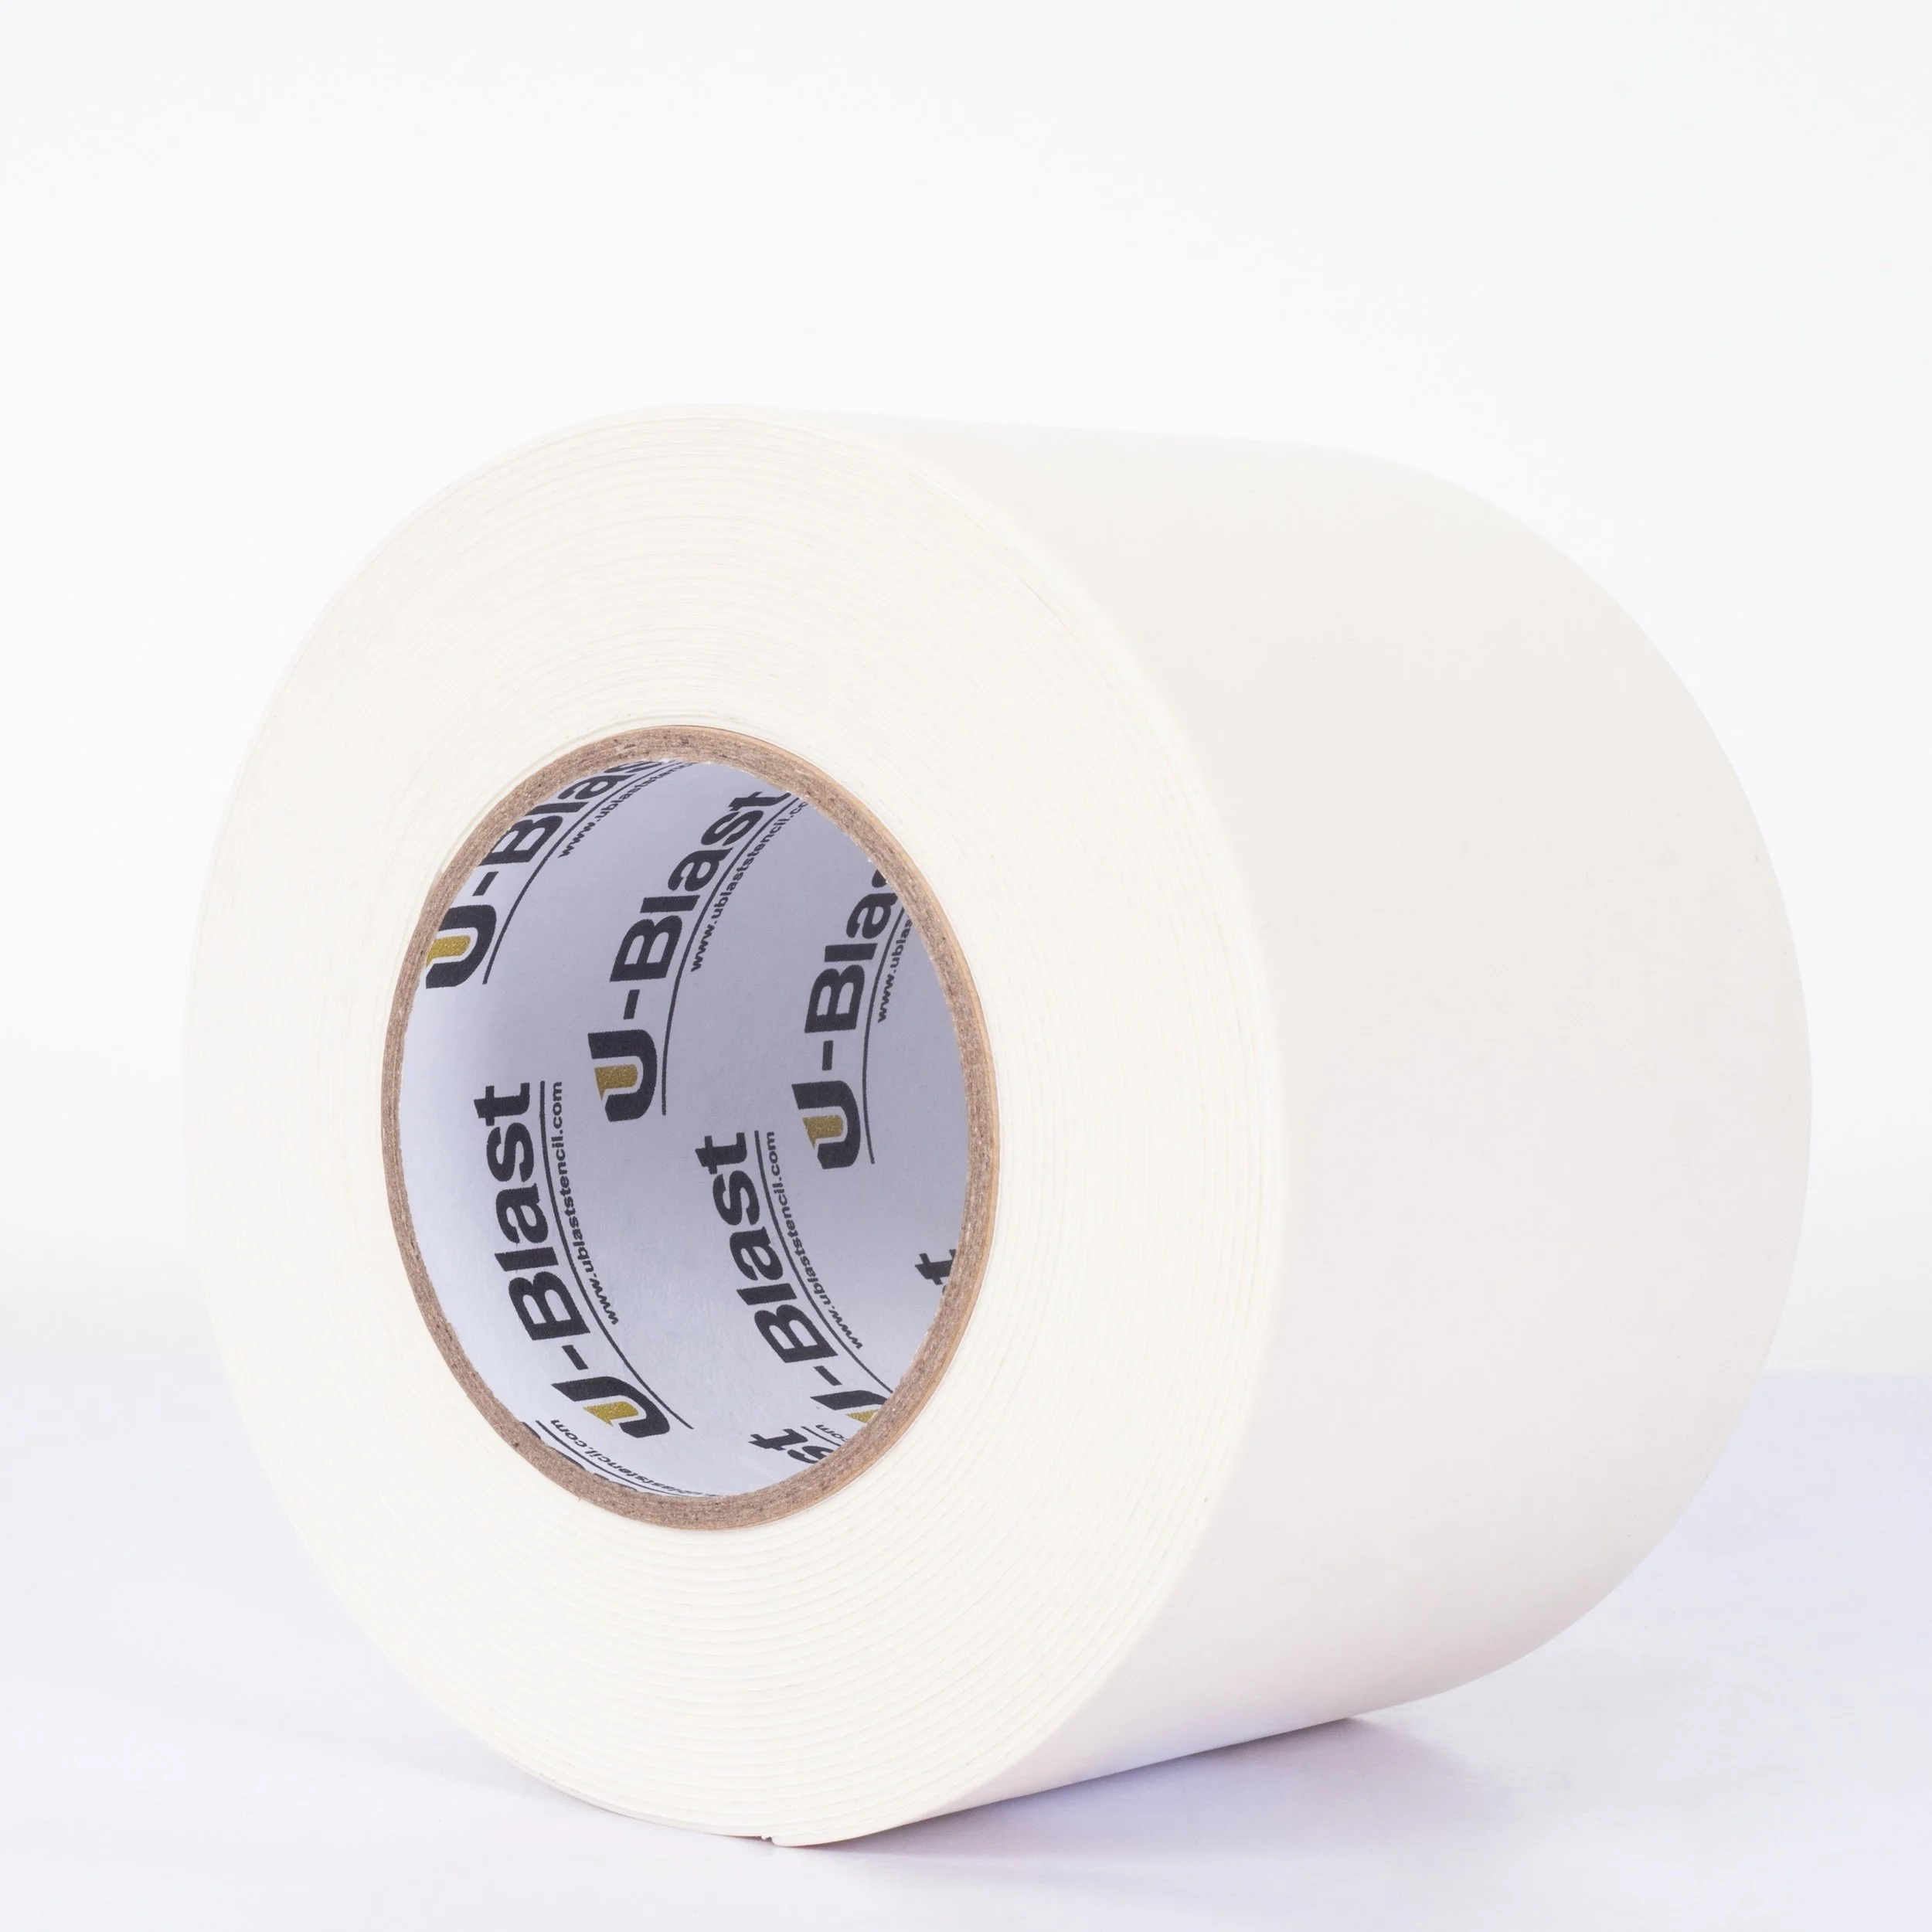
720 Series
U-Blasts signature easy to use stencil with a medium tack adhesive that’s strong enough to stay and comes off easily without damaging the surface.
Ready to get started?
We know it can be daunting to get started, U-Blast has the tips and tricks you need to get started.


Order Samples
Our Mission
Developing synergy, recognizing that a business is as strong as every individual involved

Provide value through building the best products, maintaining authenticity and transparency.

Understand that relationships are maintained through hard work, consistency, and persistance

Check out the latest from the U-Blast blog


Be a part of the U-Blast community
A quarterly news blast filled with the latest product updates, common questions, and beautiful things.